Visual regression testing with BackstopJS
![]()
Introduction
Visual regression testing is used to detect unintended visual changes in web application. It involves capturing screenshots of web pages or components at different points in time and comparing them to detect any differences. These differences needs to be reviewed if they are expected or not.
In WebSight Blueprint you can check how use BackstopJS to perform visual regression testing. BackstopJS is a free and open-source tool that automates the process of capturing and comparing screenshots to identify any visual differences that may occur due to code changes, CSS updates, or other modifications.
BackstopJS official documentation can be found here: https://github.com/garris/BackstopJS
Important notice
For more information about WebSight Blueprint project see Quick start for developers.
Configuration
BackstopJS configuration file is located there: tests/end-to-end/backstop.js.
In this file you need to provide the links for all pages to let BackstopJS know where to capture screenshots. You can also specify additional configuration options which can be found in the official docs. One option which is highly recommended is viewports. It lets you capture multiple screenshots with different dimensions for every page. This way you can verify if you pages looks good on different devices like mobile, tablet and desktop.
Environment
To replicate the production environment as much as possible we run visual regression tests on a published content.
To achieve that in tests/end-to-end/pom.xml we perform publish test content step before actual testing.
<execution>
    <id>publish test content</id>
    <goals>
        <goal>npx</goal>
    </goals>
    <phase>integration-test</phase>
    <configuration>
        <skip>${e2e.skip}</skip>
        <arguments>ts-node ./utils/content.publish/content.publish.cli.ts</arguments>
        <environmentVariables>
        <baseUrlCms>http://localhost:${cms.port}</baseUrlCms>
        </environmentVariables>
    </configuration>
</execution>
Using BackstopJS locally
You can use BackstopJS locally in the following way:
-
Run the command below to capture the screenshots of all pages defined in BackstopJS configuration file:
-
Make some changes in the code (i.e. via switching to a different branch in Git).
- Apply the changes by running:
-
Run the command below to capture again screenshots of all pages and compare them with reference screenshots:
-
Open BackstopJS report which is located here:
tests/end-to-end/backstop_data/html_report/index.htmlYou can open it by double-click in Finder/File explorer.

-
Review visual changes.
Using BackstopJS on CI server
In .github/workflows/ci.yml file you can see how we have configured visual regression tests to run them in Github Actions during pull request validation.
The general idea how this works is as follows:
- Switch to the base branch (most often
mainordevelop) which is deducted as a common ancestor between the source branch and PR target branch. - Capture reference screenshots (
e2e-visual-seedprofile). - Switch back to the PR branch.
- Capture the screenshots again and compare them with reference screenshots (
e2e-visual-checkprofile). -
Check if the report contains failed tests (visual changes).
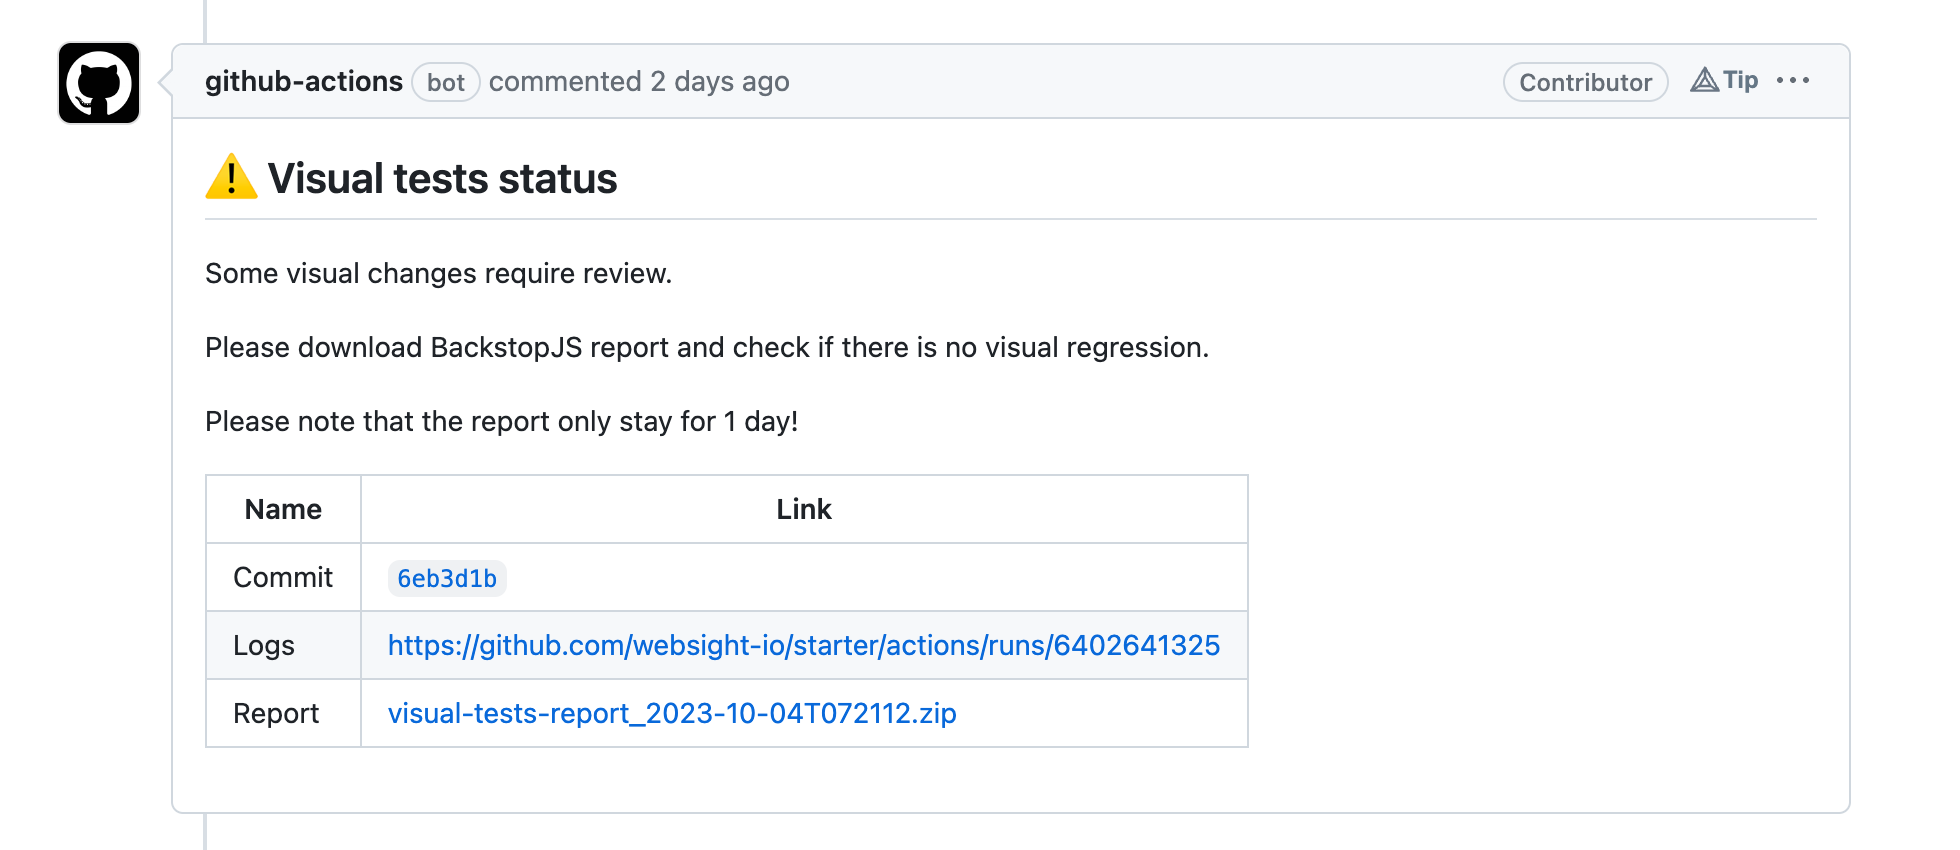
- If there are failed tests - upload report as an artifact and post the following comment on Github PR
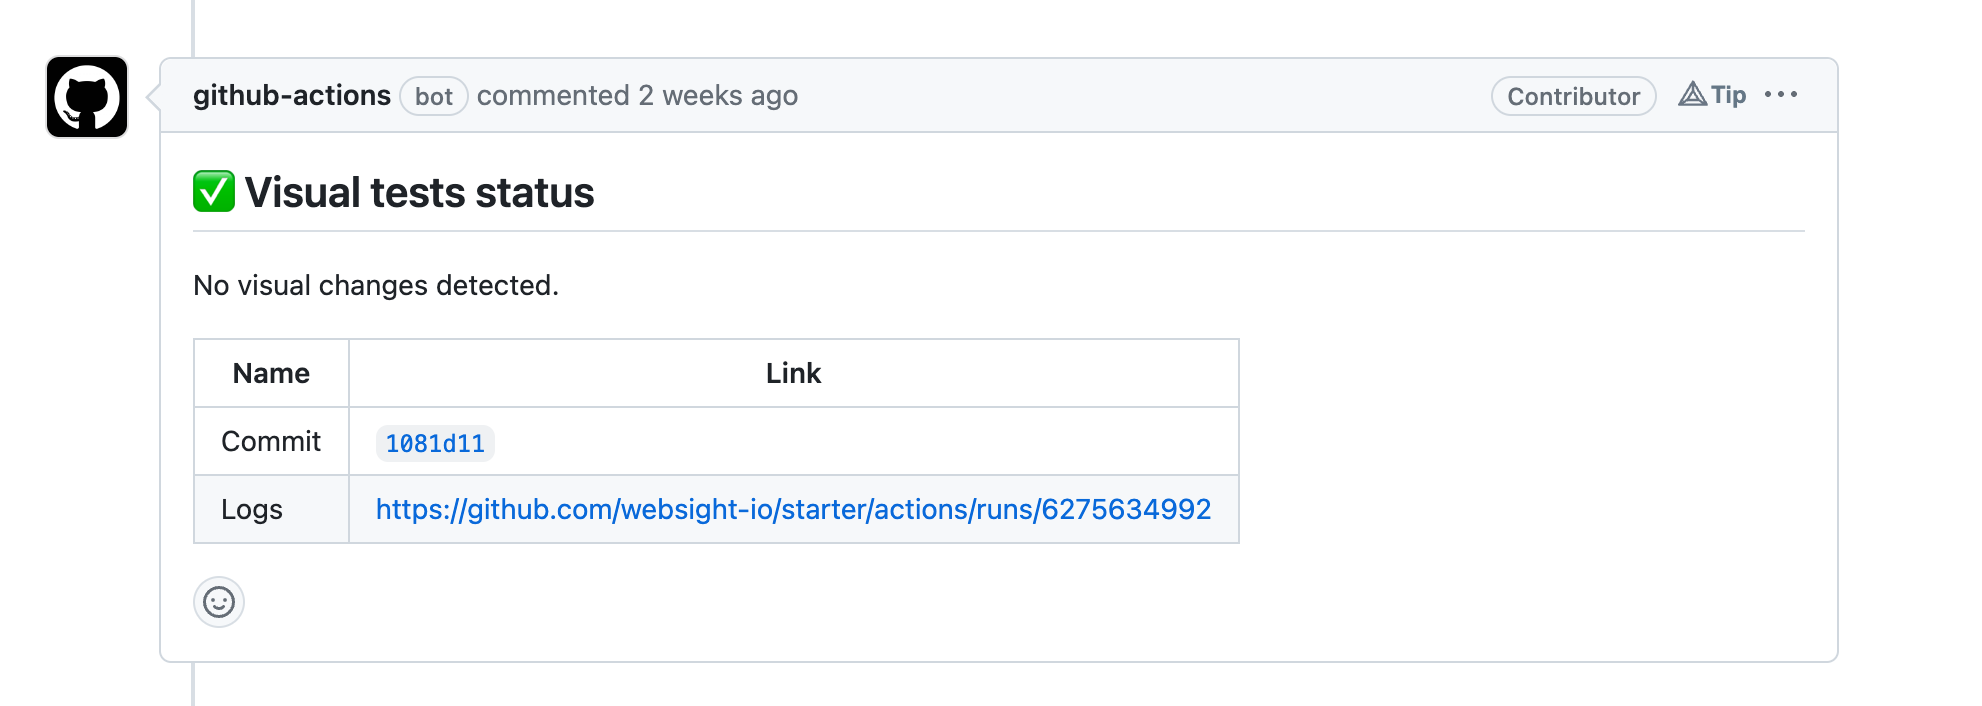
- If all tests passed - post the following comment on Github PR